Introduction
Accurately estimating a roof from blueprints is a critical step for homeowners, contractors, and roofing professionals alike. Understanding how to measure roof dimensions, calculate square footage, and account for slope ensures precise budgeting, reduces material waste, and prevents unexpected costs. Proper estimation not only saves time but also allows for better planning of labor and resources, making your roofing project more efficient and cost-effective.
With the growing adoption of advanced software and digital tools, measuring roofs from blueprints has become easier and more accurate than ever. From manual calculations to aerial measurement apps, these technologies help eliminate errors and provide detailed reports quickly. Whether you’re managing a residential project or a commercial build, knowing how to estimate a roof from blueprints empowers you to make informed decisions, plan effectively, and ensure a smooth installation process.
Why Estimating a Roof from Blueprints Matters
Estimating a roof from blueprints is essential for accurate material ordering, cost prediction, and avoiding costly mistakes during installation. By carefully analyzing the roof’s dimensions, slope, and layout, homeowners and contractors can plan effectively, ensuring that projects stay on budget and on schedule.
For homeowners, proper estimation helps prevent overpaying for materials or labor. Contractors benefit by providing precise quotes and maintaining client trust, while DIY property owners can plan their projects efficiently and minimize errors. Using blueprint roof measurement techniques ensures that every cut, slope, and material requirement is accounted for, leading to a smoother, more predictable roofing process and reducing the risk of unexpected challenges.
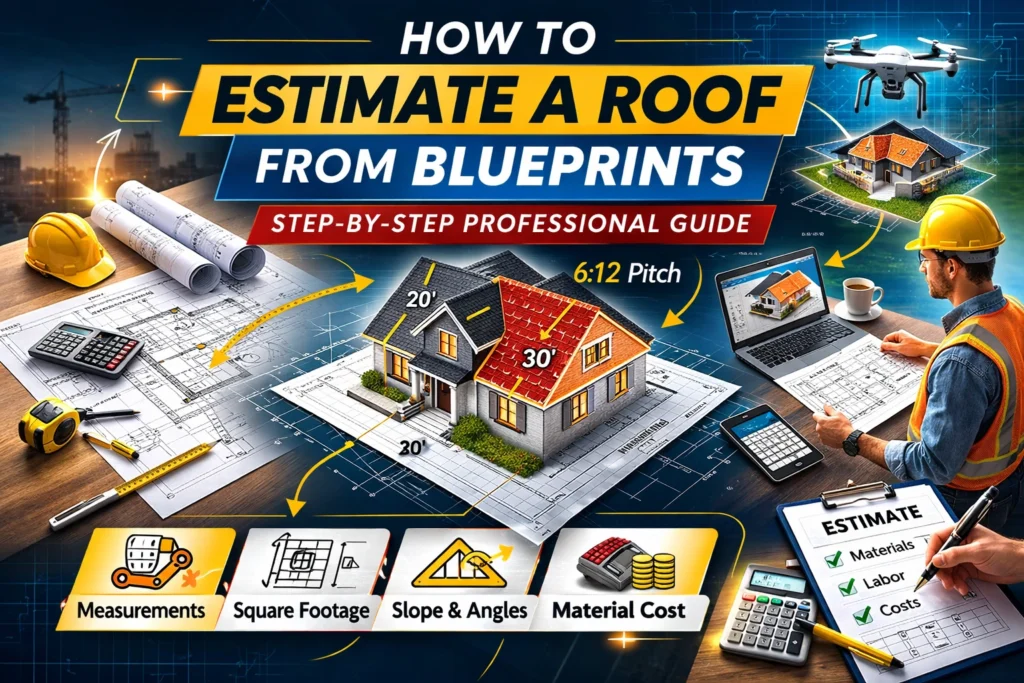
Step-by-Step Guide to Measuring a Roof from Blueprints
Measuring a roof from blueprints can seem complex, but breaking it down into clear steps simplifies the process.
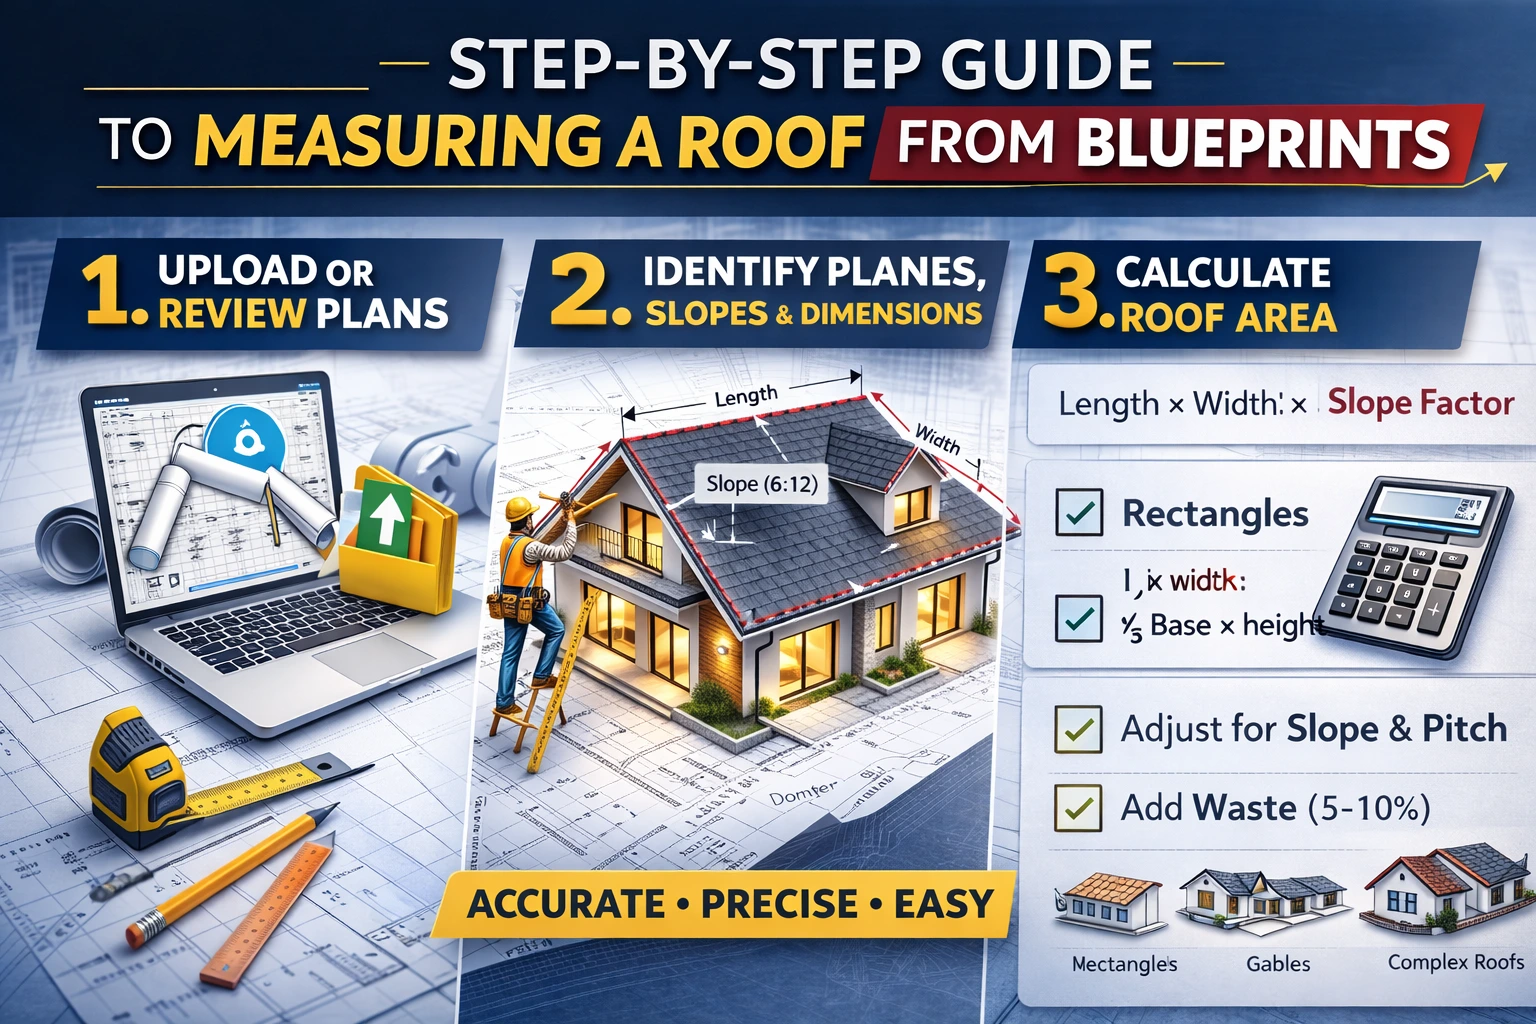
1. Upload or Review Plans
Start by reviewing or uploading your roof, floor, and elevation plans. Accurate and detailed plans are critical for precise calculations.
2. Identify Planes, Slopes, and Dimensions
Examine the blueprint carefully to determine the number of roof planes, their slopes, and the exact dimensions. Pay attention to features like dormers, valleys, and hips that affect the overall roof area.
3. Calculate Roof Area
Use standard geometric formulas to calculate the area: rectangles, triangles, and other complex shapes. For multi-slope roofs, calculate each section separately and sum the totals for an accurate roof area estimate.
For professional support, you can rely on CSI Estimation Blueprint Estimating Services, which ensures precise measurements and detailed takeoffs for any roofing project.
Tools and Software for Roof Estimation
At CSI Estimation, we leverage advanced digital tools and software to make roof estimation faster, more precise, and hassle-free. Our professional team uses state-of-the-art solutions to generate accurate measurements, detailed material lists, and 3D visualizations for both residential and commercial roofing projects.
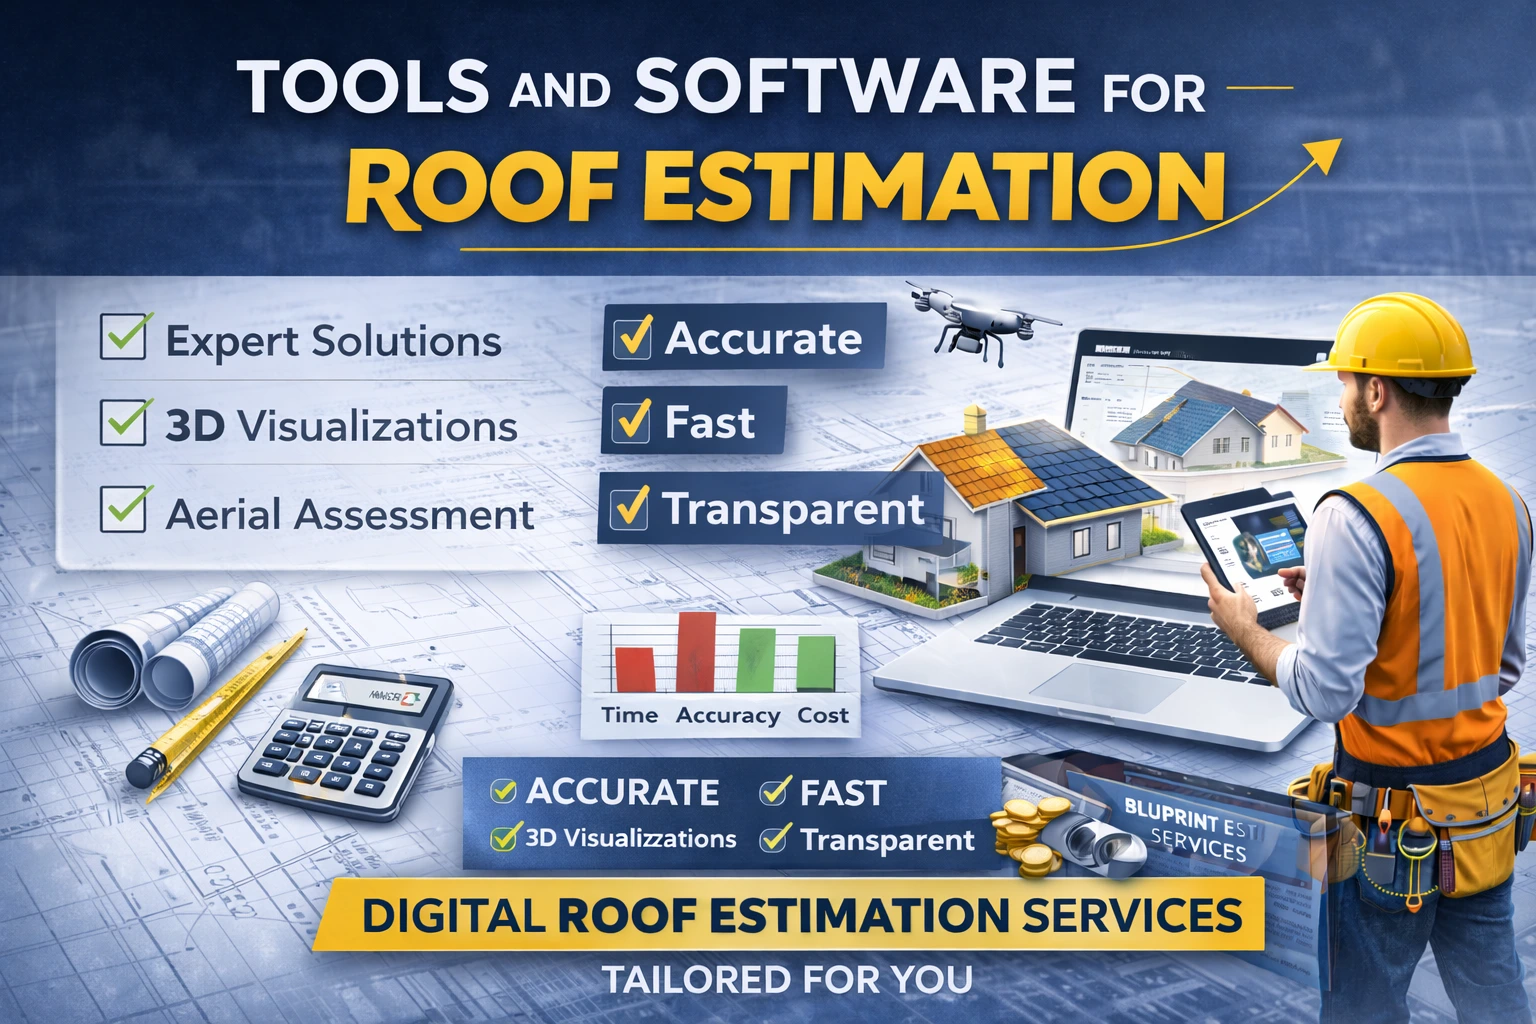
With features like aerial roof assessment and slope analysis, we can evaluate even hard-to-reach or complex roofs safely and efficiently. While traditional manual methods are time-consuming and prone to errors, CSI Estimation’s digital approach ensures precision, saves valuable time, and reduces mistakes.
Our blueprint estimating services combine expert knowledge with cutting-edge technology, delivering reliable, transparent, and detailed roof estimates. Whether you’re a homeowner, contractor, or property manager, CSI Estimation provides the insights you need to plan your project confidently and avoid unexpected costs.
Calculating Roof Square Footage from Blueprints
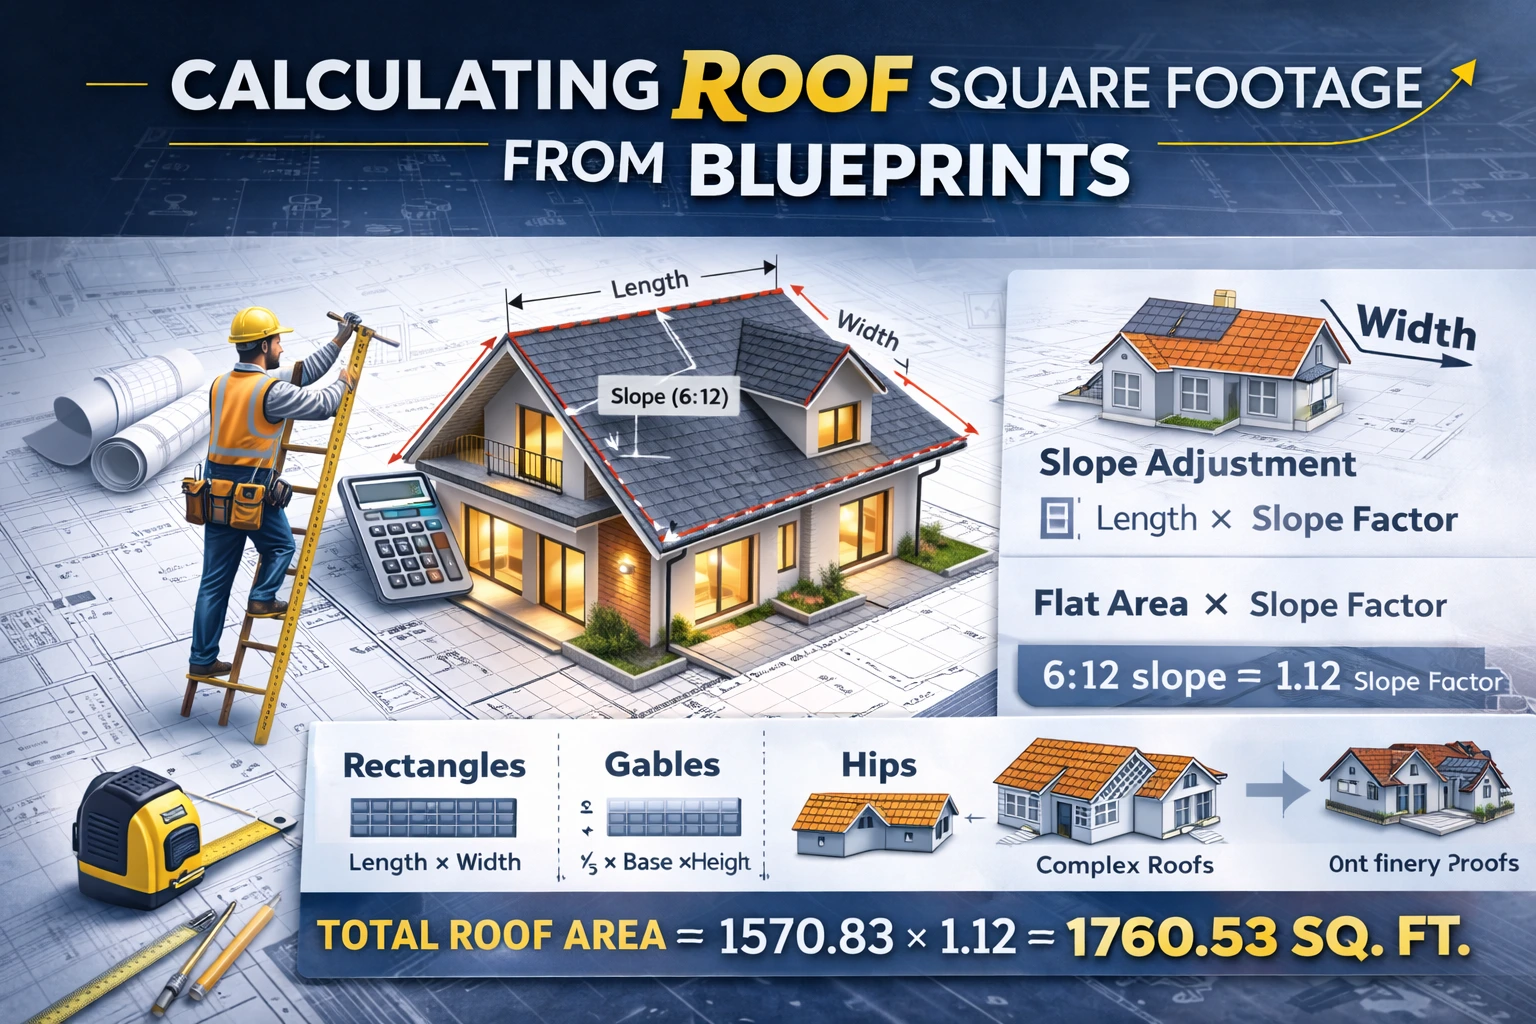
Accurately calculating roof square footage from blueprints is essential for precise material ordering and budgeting. Start by breaking the roof into basic shapes such as rectangles, gables, hips, and shed roofs. Apply standard area formulas to each section, instance, length × width for rectangles or ½ × base × height for triangular gables.
Next, adjust for roof slope and pitch by multiplying the flat area by the slope factor. For example, a 30° roof pitch increases the total surface area compared to a flat roof.
Practical examples can make this process easier: a simple gable roof with dimensions 20’ × 30’ and a 6:12 pitch will require multiplying the flat area by 1.04 (the slope factor) to get the actual roofing material needed.
Using these blueprint roof area formulas ensures accurate estimates, helping contractors and homeowners avoid material shortages or excess costs.
Manual Methods vs. Digital Estimation
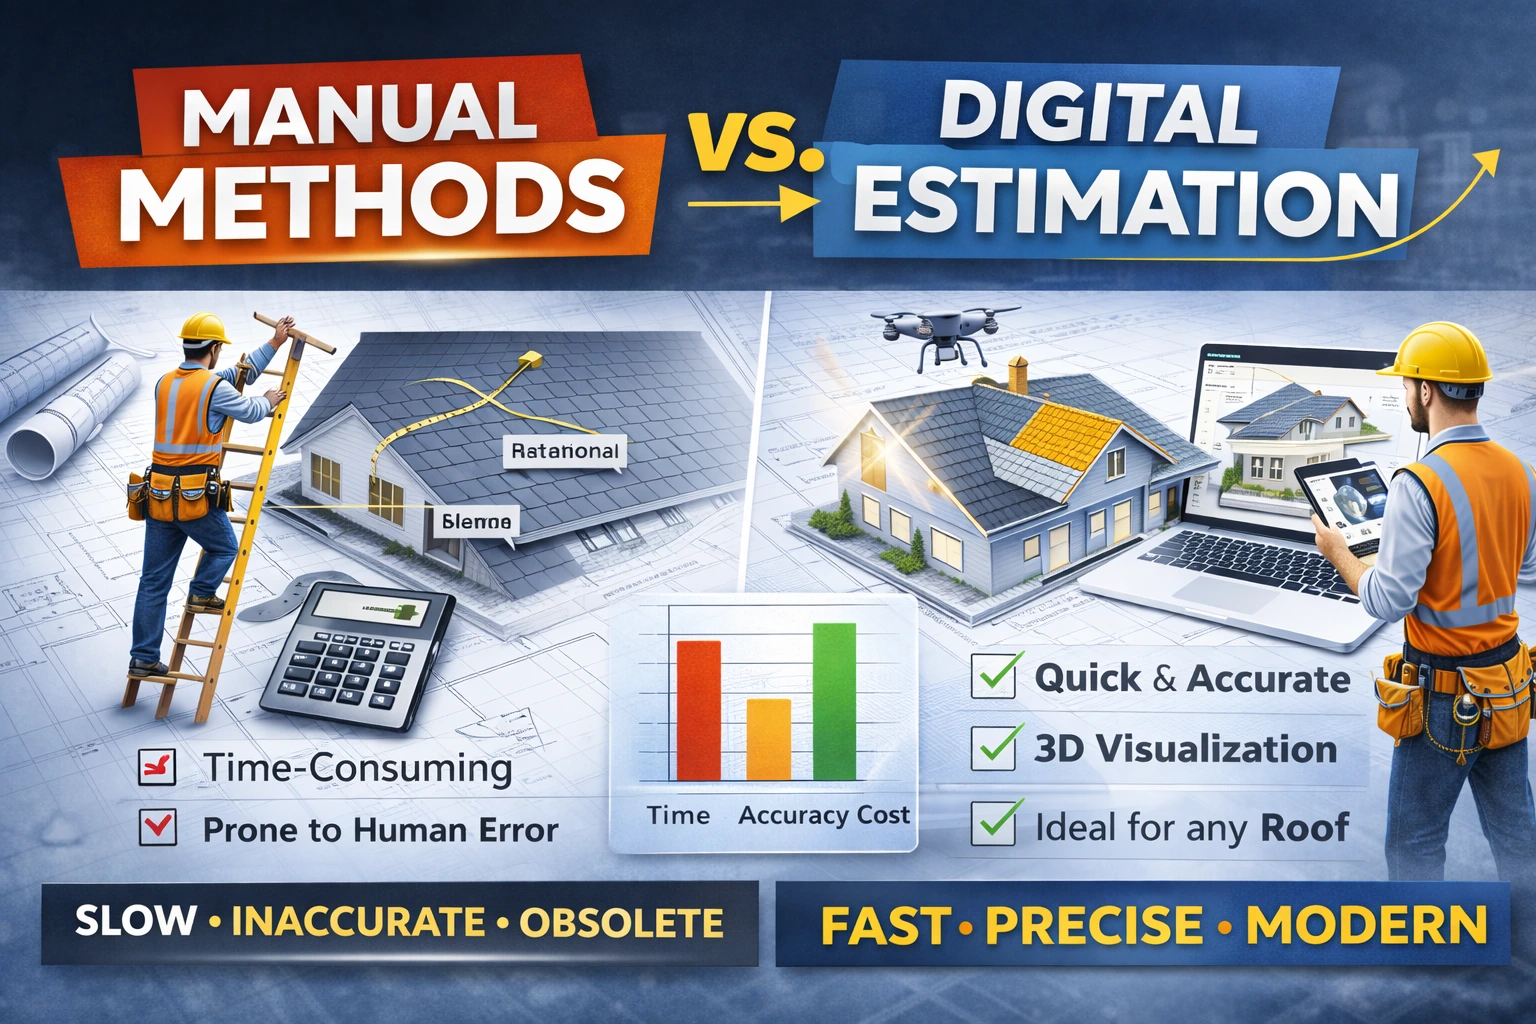
When estimating a roof from blueprints, you can use manual measurement methods such as tape measures, measuring wheels, and ladders. These methods are straightforward and don’t require special software, but they are time-consuming, prone to human error, and less practical for complex or steep roofs.
On the other hand, digital roof estimation tools like iRoofing, GAF QuickMeasure™, and ProLine offer fast, accurate, and efficient calculations. These tools provide 3D visualization, automated area calculations, and reduce the likelihood of mistakes, saving both time and money.
Choosing between manual and digital methods depends on the project size and complexity. For contractors and property owners aiming for precision and efficiency, digital roof takeoff is the preferred choice.
Common Mistakes When Estimating Roofs from Blueprints
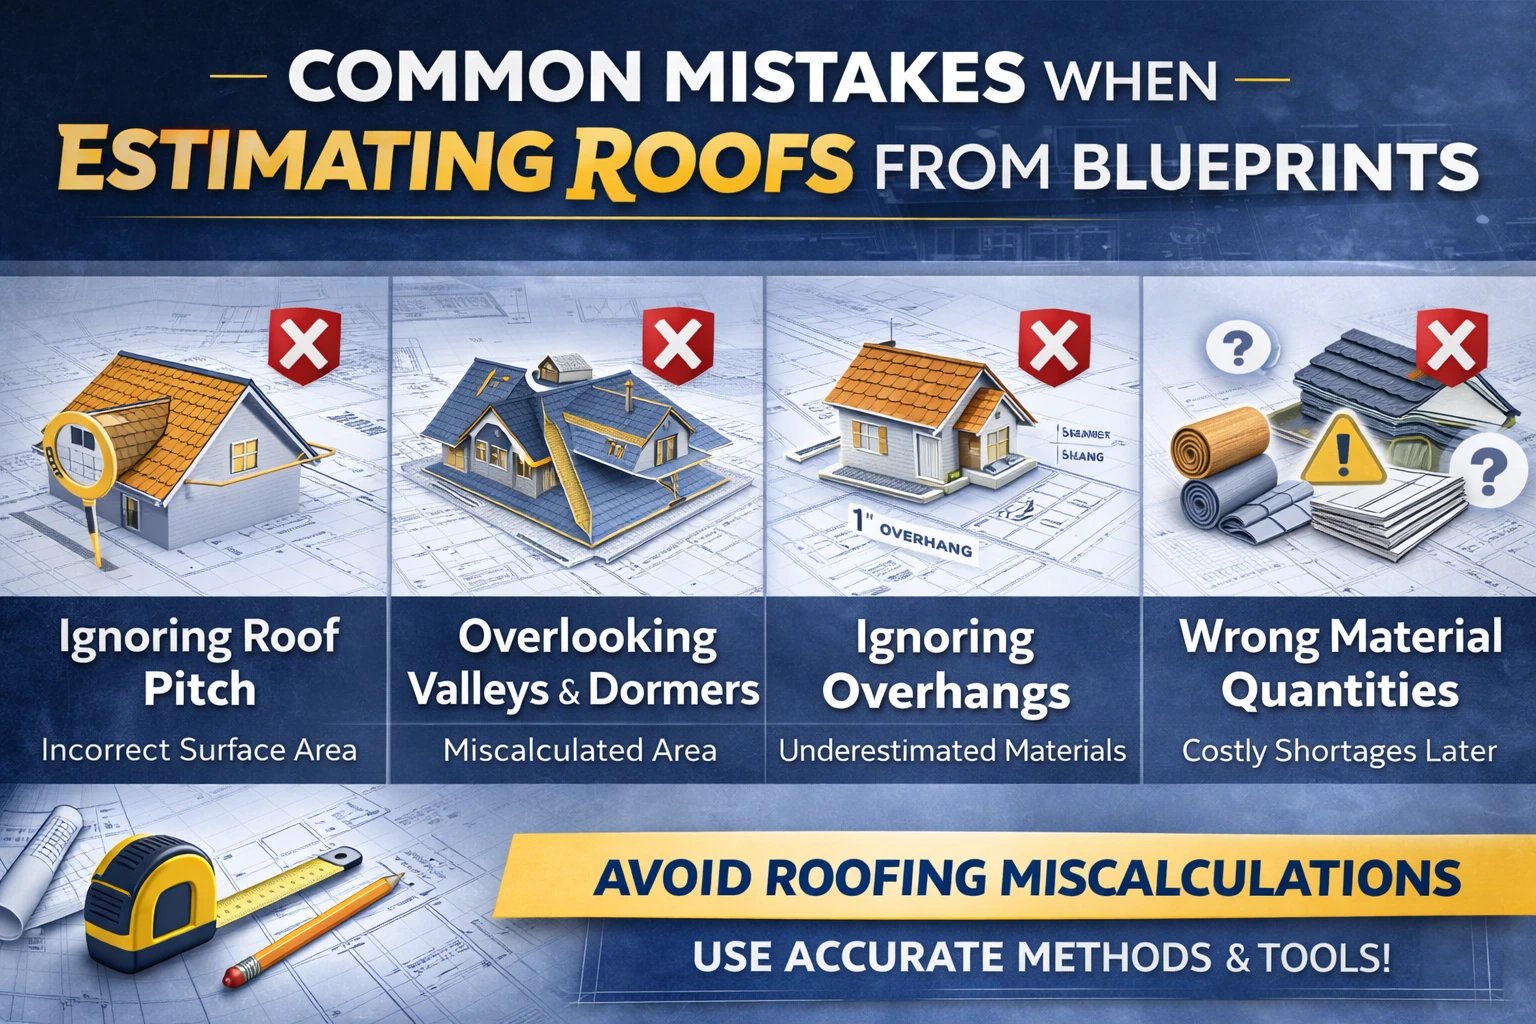
Estimating a roof from blueprints can be tricky, and several mistakes can lead to inaccurate calculations. One common error is overlooking the roof pitch or slope factor, which affects the total square footage and material needs. Misinterpreting complex roof shapes, such as hips, valleys, and multiple gables, can also result in errors. Additionally, ignoring overhangs, dormers, and other architectural features may lead to underestimating materials or costs.
Being aware of these pitfalls helps homeowners, contractors, and estimators produce more accurate roof takeoffs and avoid costly mistakes. Using professional tools or services can further reduce these risks.
How CSI Estimation Helps with Accurate Roof Estimates
CSI Estimation is a trusted professional estimator that ensures accurate roof estimates from blueprints. By providing a transparent breakdown of materials, labor, and additional costs, CSI Estimation eliminates hidden fees and surprises, helping homeowners, contractors, and DIY property owners plan confidently.
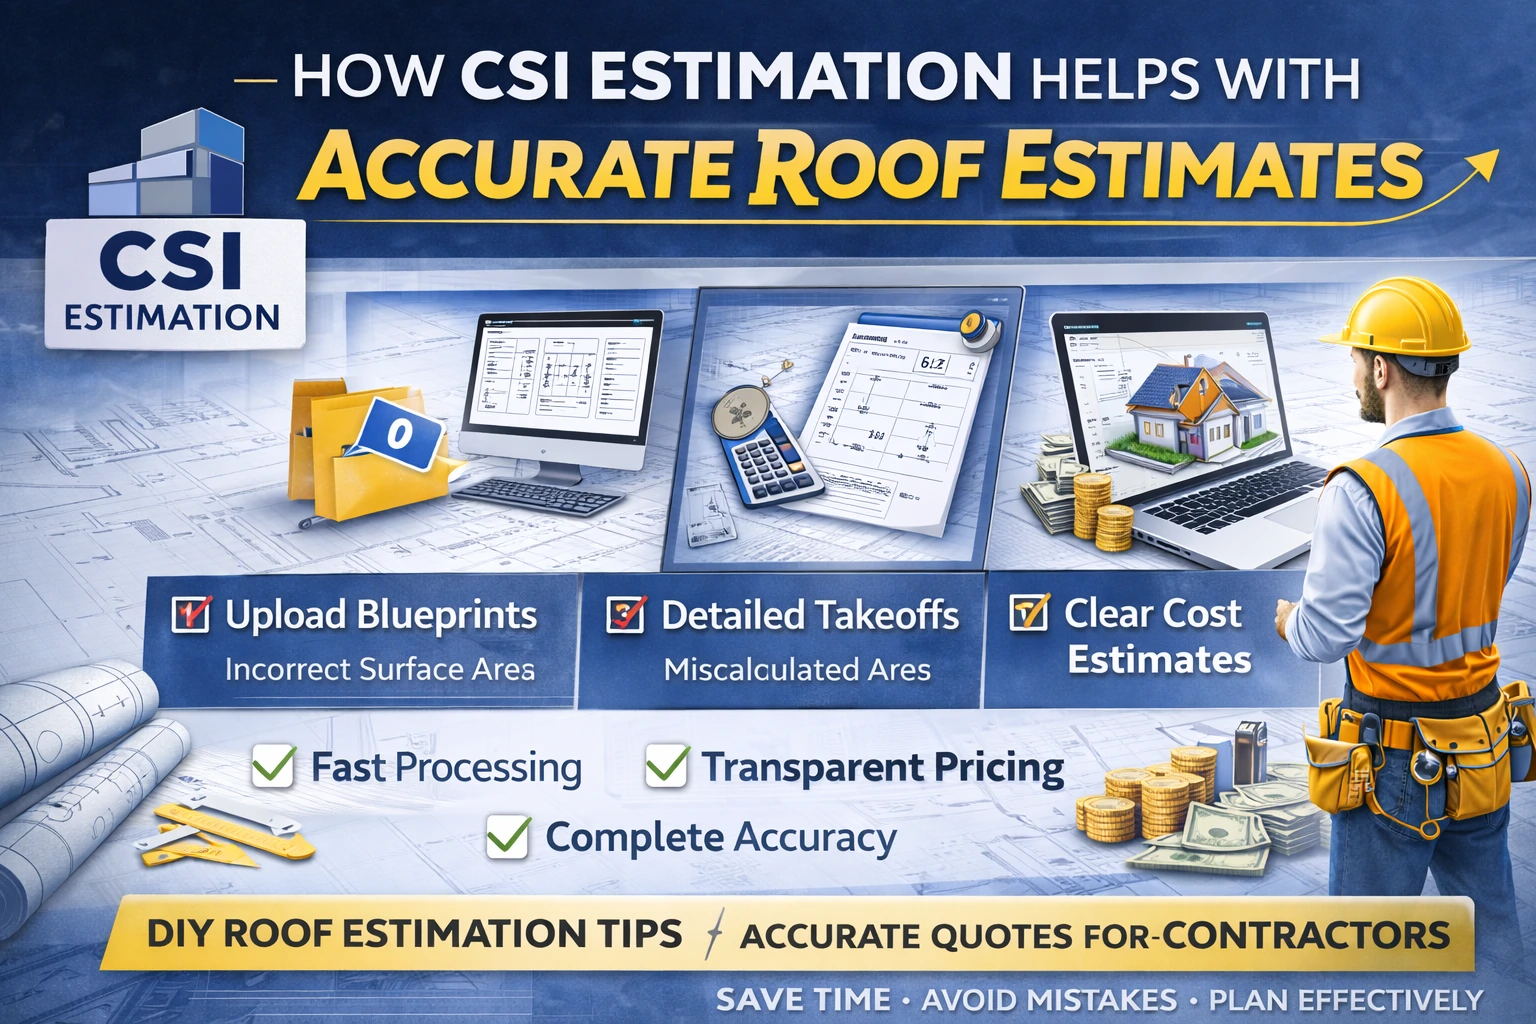
With expertise in blueprint estimating services and MEP estimating services, our team uses advanced tools and proven methods to deliver precise measurements and cost predictions for any roofing project. Whether your roof is simple or complex, CSI Estimation ensures every plane, slope, and dimension is accounted for, saving time and reducing errors.
Take control of your roofing project today. Request your roof estimate from CSI Estimation and experience professional, reliable, and detailed estimation services tailored to your property.
Tips for DIY and Contractors Using Blueprint Roof Estimates
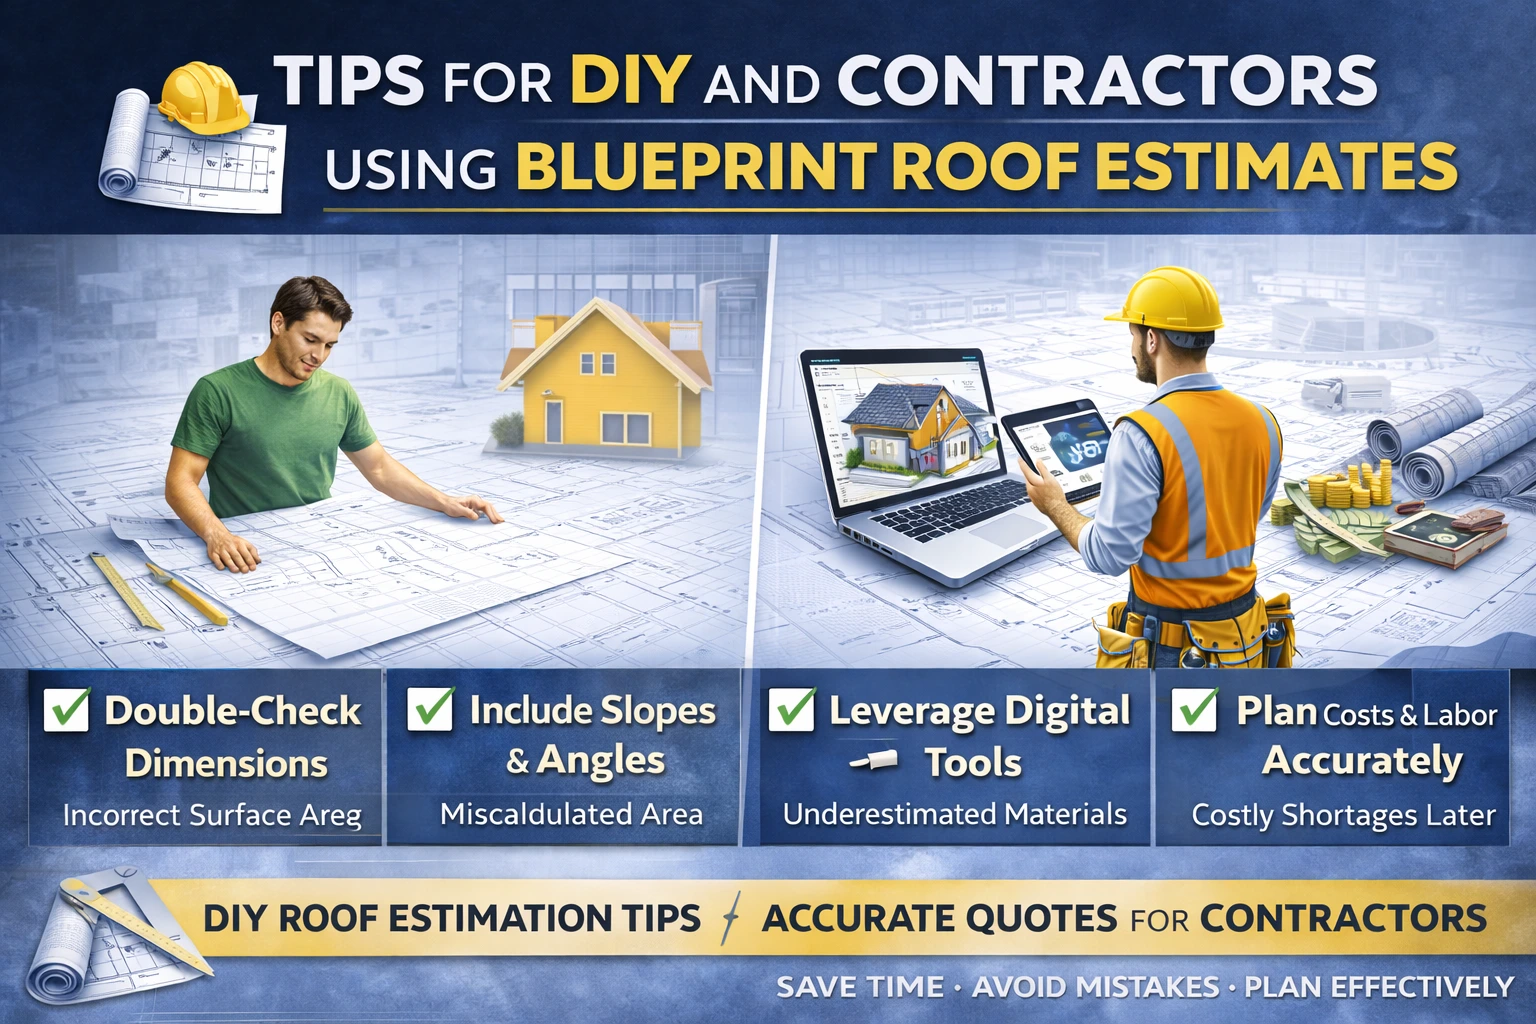
Whether you’re a DIY property owner or a professional contractor, accurate roof estimates start with careful planning. Verify all dimensions twice to avoid costly mistakes and ensure every measurement matches the blueprint. Include materials, slopes, and angles in your calculations to get a realistic estimate of costs and labor.
For complex roofs with multiple planes or irregular shapes, rely on digital tools, calculators, or software to simplify calculations and improve accuracy. Following these tips helps both homeowners and contractors make informed decisions, avoid errors, and plan their roofing projects efficiently.
Frequently Asked Questions About Roof Estimation from Blueprints
-
Can I rely solely on blueprints for roofing costs?
Blueprints provide a strong starting point, but combining them with professional estimates ensures accurate budgeting.
-
Do digital tools replace in-person measurements?
Digital tools speed up calculations and improve accuracy, yet on-site verification is recommended for complex roofs.
-
How do I account for material waste?
Always include a waste factor (typically 5–10%) for shingles, underlayment, and other materials to prevent shortages and extra trips.
Using these best practices helps homeowners and contractors plan efficiently, minimize errors, and avoid unexpected expenses.